Your cart is currently empty!

Essential Tips Wrapping Car for a Stunning Transformation
Wrapping your car is a fantastic way to dramatically change its appearance, protect the original paint, and even advertise your business. But a successful car wrap requires more than just choosing a cool design. This comprehensive guide covers essential Tips Wrapping Car, from preparation to aftercare, ensuring a flawless and long-lasting finish.  Preparing the Car for Vinyl Wrap
Understanding the Basics of Car Wrapping
Car wrapping involves applying a thin, vinyl film to the exterior surfaces of your vehicle. This film comes in various colors, finishes, and textures, allowing for a wide range of customization options. From matte black to vibrant chrome, the possibilities are endless. Before diving into the wrapping process, understanding the different types of vinyl and their properties is crucial. Cast vinyl, for instance, conforms better to complex curves, while calendared vinyl is more budget-friendly but less flexible. Choosing the right vinyl is the first step towards a successful wrap. Thinking of giving your car a new look? Check out our car wrapping tips and tricks.
Preparation is Key: Tips for a Smooth Surface
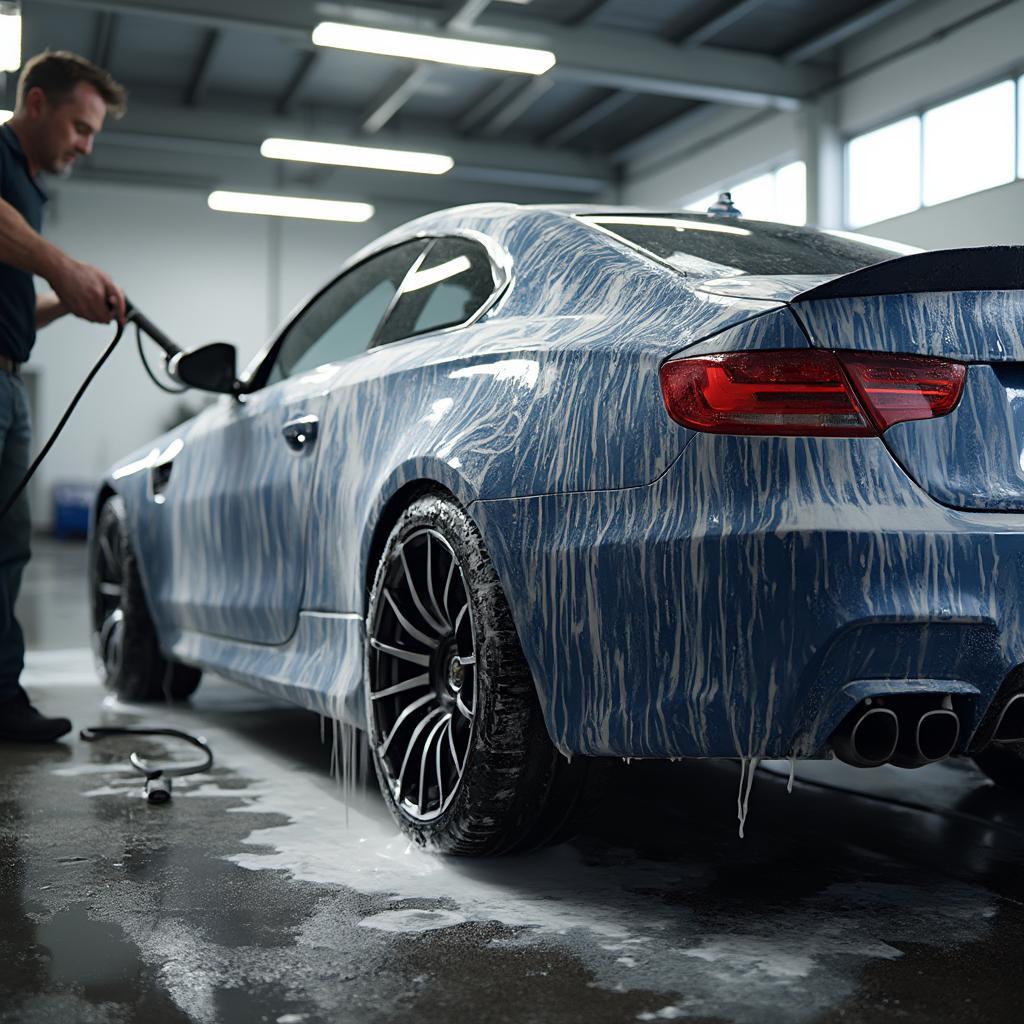
Proper preparation is paramount for a flawless car wrap. A clean, smooth surface is essential for the vinyl to adhere correctly. Thoroughly wash and dry the car, paying close attention to removing any contaminants like dirt, grease, or wax. Even a tiny speck of dust can create air bubbles and imperfections in the final result. Use a clay bar to remove any embedded contaminants that washing might miss. Remember, a perfectly prepped car is the foundation of a perfect wrap.
Essential Tools for Car Wrapping
Having the right tools makes the wrapping process smoother and more efficient. A heat gun is crucial for conforming the vinyl around curves and edges. Squeegees help smooth out the vinyl and remove air bubbles. A sharp knife or blade is essential for precise cutting. Invest in high-quality tools for professional results.
Applying the Vinyl: Patience and Precision
Applying the vinyl requires patience and precision. Start by carefully positioning the vinyl sheet on the car panel. Work slowly and methodically, smoothing out the vinyl as you go. Use the heat gun to soften the vinyl and make it more pliable around curves and edges. Overlapping the vinyl slightly on adjacent panels ensures complete coverage and prevents gaps. For a comprehensive guide to wrapping an entire car, visit our page on tips for vinyl wrapping entire car.
Dealing with Air Bubbles and Wrinkles
Air bubbles and wrinkles are common challenges during the wrapping process. Use a squeegee to push the air bubbles towards the edges of the vinyl. For stubborn bubbles, you can prick them with a fine needle and then apply heat to flatten the area. Wrinkles can often be smoothed out with the heat gun. Practice makes perfect, and don’t be afraid to ask for help if you encounter difficulties. Learn more about specific vinyl wrapping tips at tips vinyl wrapping car.
Post-Wrap Care: Maintaining Your Stunning Finish
After the wrap is complete, proper aftercare is essential for maintaining its longevity. Avoid harsh chemicals and abrasive cleaners. Hand washing is recommended, using a mild soap and water solution. Protecting your car from excessive sun exposure and extreme temperatures will also help prolong the life of the wrap. While car wrapping is a great way to enhance your vehicle’s aesthetics, remember that proper tree care is important for maintaining your property’s overall appeal. Learn more about seasonal tree care at tree care tips for winter.
Conclusion: Transform Your Ride with Tips Wrapping Car
Car wrapping is an excellent way to transform your car’s appearance and protect its original paint. By following these tips wrapping car, you can achieve a stunning, professional-looking finish that will turn heads. Remember, patience and attention to detail are key to a successful car wrap. For more helpful advice and expert tricks, visit our resource on car wrap tips tricks.
FAQ
- How long does a car wrap typically last? (A car wrap can last anywhere from 3 to 7 years with proper care.)
- Can I wrap my car myself? (While possible, professional installation is recommended for the best results.)
- Does car wrapping damage the original paint? (A properly installed and removed car wrap will not damage the original paint.)
- What are the different types of car wraps available? (Common types include vinyl, matte, satin, gloss, chrome, and color-changing wraps.)
- How much does it cost to wrap a car? (The cost varies depending on the size of the car, the type of vinyl, and the complexity of the design.)
- Can I remove a car wrap? (Yes, a car wrap can be removed professionally without damaging the paint.)
- What are the benefits of car wrapping over painting? (Car wrapping offers more design options, paint protection, and is often less expensive than a full repaint.)
“Precision and patience are the two most important qualities for a successful car wrap,” says John Smith, Lead Installer at Wrap It Right. “Don’t rush the process and make sure you have the right tools.”
“A clean surface is absolutely crucial for a flawless finish,” adds Jane Doe, Automotive Detailing Expert at Pristine Auto. “Taking the time to properly prepare the car will make a huge difference in the final result.”
“Don’t underestimate the importance of post-wrap care,” advises Michael Brown, Automotive Paint Protection Specialist. “Protecting your wrap from the elements will significantly extend its lifespan.”
Need help with your car wrap project? Contact us via WhatsApp: +1(641)206-8880, Email: [email protected] Or visit our workshop at 456 Pine Avenue, Toronto, ON M5V 2J4, Canada. Our customer service team is available 24/7.

Leave a Reply