Your cart is currently empty!

How to Attach a Tip Box to Your Car Console
Knowing how to attach a tip box to your car console can significantly improve your driving experience by keeping your essentials organized and within easy reach. Whether you’re a rideshare driver, delivery person, or simply someone who appreciates a tidy car, a securely attached tip box can make all the difference. This guide provides a comprehensive overview of various methods for attaching a tip box, ensuring a safe and stable setup.
Choosing the Right Tip Box and Mounting Method
The first step is selecting the right tip box and mounting method for your specific needs and car console. Consider the size and shape of your console, as well as the material it’s made of. Some common materials include plastic, vinyl, and leather. Different mounting methods will be suitable for different materials. Think about the size and weight of the tip box you need. A larger, heavier box will require a more robust mounting solution than a smaller, lighter one.
Adhesive Mounts: Quick and Easy
Adhesive mounts are a popular choice for their ease of installation. Simply peel and stick the adhesive to the bottom of the tip box and then to the desired location on your console. However, these mounts may not be suitable for all console materials or heavier tip boxes. Ensure the console surface is clean and dry before applying the adhesive for the strongest bond.
Velcro Mounts: Adjustable and Reusable
Velcro mounts offer flexibility and reusability. Attach one side of the velcro to the tip box and the other to the console. This allows for easy removal and repositioning of the tip box. Velcro is a great option for those who want to frequently change the placement of their tip box or remove it entirely for cleaning.
Suction Cup Mounts: Secure and Convenient
Suction cup mounts provide a secure hold on smooth surfaces. Ensure the suction cup and the console surface are clean for optimal adhesion. These mounts can be easily removed and reattached as needed. However, they might not be ideal for textured or porous console surfaces.
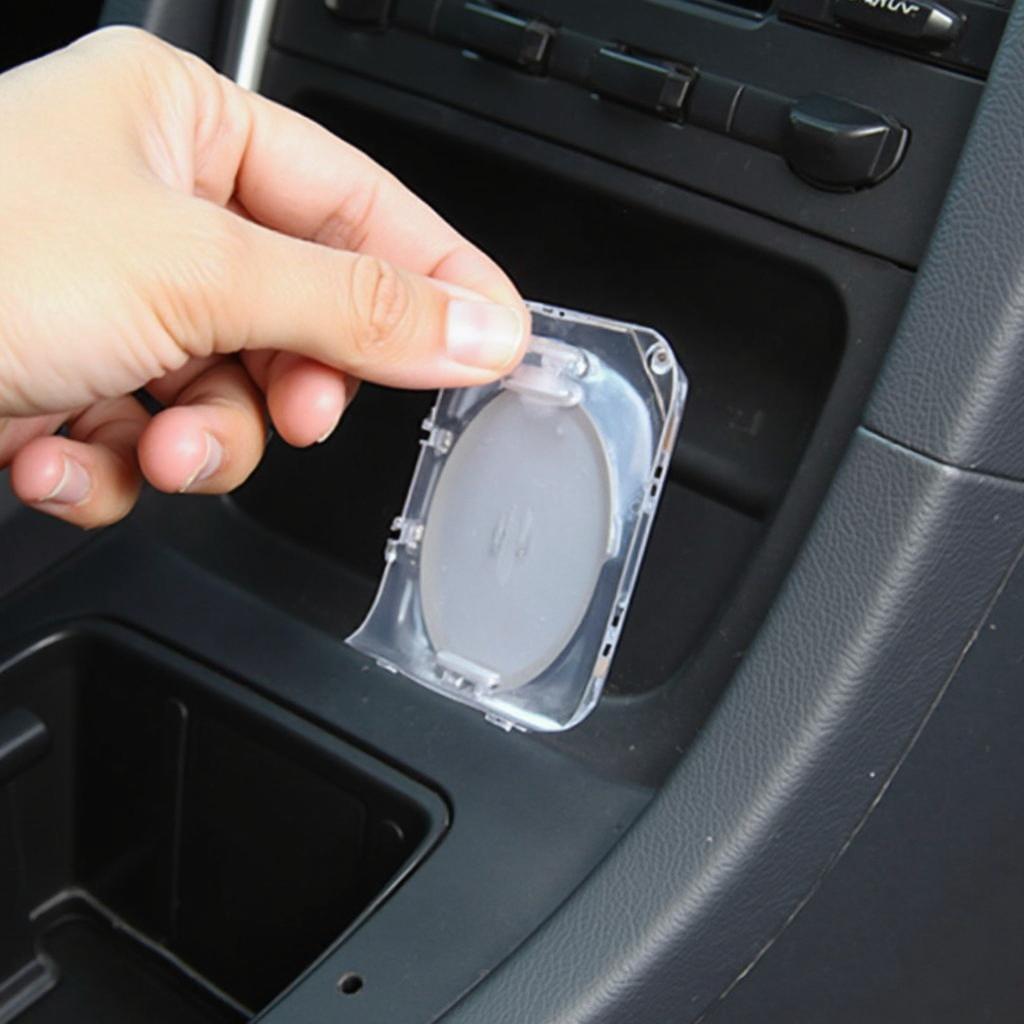
 Attaching a Tip Box with Adhesive Mount
Mounting Your Tip Box: Step-by-Step Instructions
Once you’ve chosen your tip box and mounting method, follow these steps for a secure and stable installation:
- Clean the console surface: Thoroughly clean the area where you plan to attach the tip box. Use a suitable cleaning solution for your console material to remove any dirt, dust, or grease.
- Prepare the mounting method: If using an adhesive mount, peel off the backing. If using velcro, ensure both sides are securely attached to the tip box and console. For suction cups, ensure the cup is clean and moist.
- Attach the tip box: Carefully position the tip box on the console and firmly press it down to secure the mount. For adhesive mounts, apply consistent pressure for several seconds. For velcro, ensure the two sides are firmly interlocked. For suction cups, press down firmly to create a vacuum seal.
- Test the stability: Gently tug on the tip box to ensure it’s securely attached. If it feels loose or wobbly, try repositioning it or using a different mounting method.
Considering Car Console Material
Different car consoles are made from various materials. Leather and vinyl require different approaches than hard plastics. Research what type of material your car console is made of and choose a compatible adhesive or mounting method.
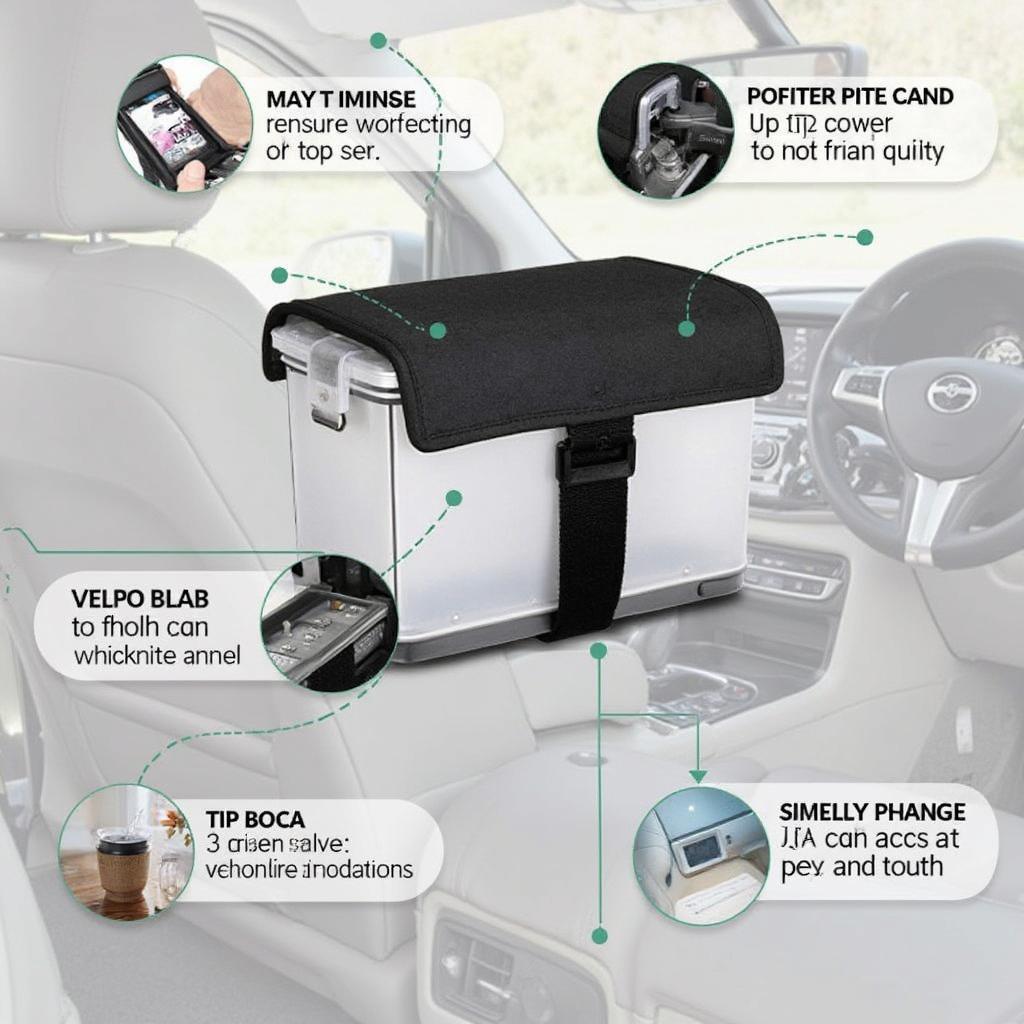
 Securing a Tip Box with Velcro Mount
Tips for a Successful Installation
- Read the instructions: Always consult the instructions provided with your tip box and mounting method for specific guidance.
- Consider the weight: Choose a mounting method that can support the weight of your tip box, especially if you plan to store heavier items.
- Test different locations: Experiment with different locations on your console to find the most convenient and stable spot for your tip box.
- Avoid obstructing essential controls: Ensure the tip box doesn’t interfere with your access to important controls like the gear shift, parking brake, or climate control.
“A properly secured tip box not only keeps your car organized but also enhances safety by preventing items from rolling around and becoming distractions while driving,” says automotive expert, David Miller, Senior Automotive Engineer at CarTipss.
Conclusion
Attaching a tip box to your car console is a simple yet effective way to improve organization and convenience while driving. By following these tips and choosing the right mounting method, you can ensure a secure and stable installation that will keep your essentials within easy reach. Remember to choose a tip box and mounting method that are compatible with your car console and consider the weight of the items you plan to store. How to attach a tip box to your car console effectively depends on your specific car model and the type of tip box you’ve chosen.
FAQ
- What type of adhesive is best for attaching a tip box to a car console?
- Can I use a suction cup mount on a textured console surface?
- How do I remove a tip box that has been attached with adhesive?
- What is the best way to clean my car console before attaching a tip box?
- Are there any specific tip boxes designed for rideshare drivers?
- Where can I purchase tip boxes and mounting accessories?
- What should I do if my tip box keeps falling off?
“Choosing the right placement for your tip box can greatly impact its usefulness. Consider factors like visibility, accessibility, and potential interference with other controls,” adds Sarah Johnson, Lead Design Engineer at CarTipss.
For further assistance with Car Tips and tricks, explore other articles on our website or contact us via WhatsApp: +1(641)206-8880 or Email: [email protected]. Our 24/7 customer support team is ready to help.

Leave a Reply