Your cart is currently empty!

DIY Car Wrap Tips: Transform Your Ride on a Budget
Wrapping your car yourself can be a rewarding experience, offering a unique way to personalize your vehicle and protect its original paint. With the right Diy Car Wrap Tips, patience, and attention to detail, you can achieve a professional-looking finish without breaking the bank. This article will guide you through the process, providing essential tips and tricks for a successful DIY car wrap project.
Preparation is Key for a Flawless Car Wrap
Before diving into the wrapping process, proper preparation is crucial. This involves thoroughly cleaning the car’s surface, gathering the necessary tools, and creating a suitable workspace. A clean car is essential for proper adhesion of the vinyl wrap. Any dirt, grime, or wax residue can cause bubbles and imperfections in the final result. Use a high-quality car wash soap and a clay bar to remove any contaminants. Ensure the car is completely dry before proceeding. Similar to car styling tips, meticulous preparation is vital.
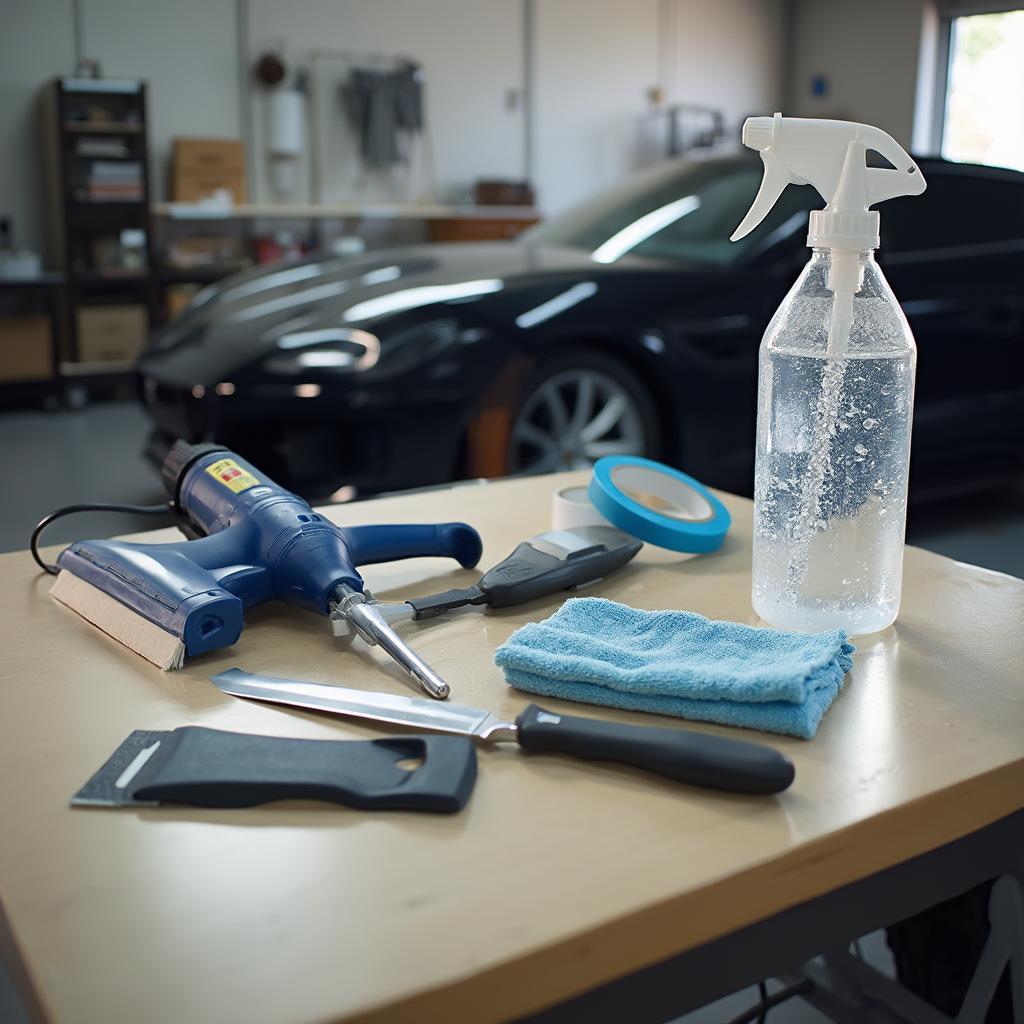
Next, gather your tools. You’ll need a sharp utility knife or blade, a squeegee, a heat gun, masking tape, and microfiber cloths. A spray bottle filled with a mixture of soapy water acts as a lubricant and helps reposition the vinyl during application. Having all the necessary tools readily available will streamline the process and minimize frustration.
Finally, choose a clean, well-lit, and dust-free workspace. A garage or enclosed area is ideal. This will prevent dust and debris from settling on the vinyl during application.
 Essential Tools for DIY Car Wrapping
Choosing the Right Vinyl Wrap for Your Car
Selecting the right vinyl wrap is crucial for both aesthetics and durability. There are various types of vinyl wraps available, each with its own characteristics. Cast vinyl is considered the premium option due to its conformability and longevity. It’s thinner and more flexible, making it ideal for complex curves and contours. Calendered vinyl is a more budget-friendly option but may be less durable and more challenging to work with. Consider your budget and the complexity of your car’s shape when making your choice. This echoes the principles discussed in cars styling tips, where material selection is paramount.
Also, think about the finish you desire. Gloss, matte, satin, and chrome are just a few options available. Consider the overall look you want to achieve for your car. Do you want a sleek, modern look or a more classic, understated appearance? Choosing the right finish can significantly impact the final result.
Applying the Vinyl Wrap: A Step-by-Step Guide
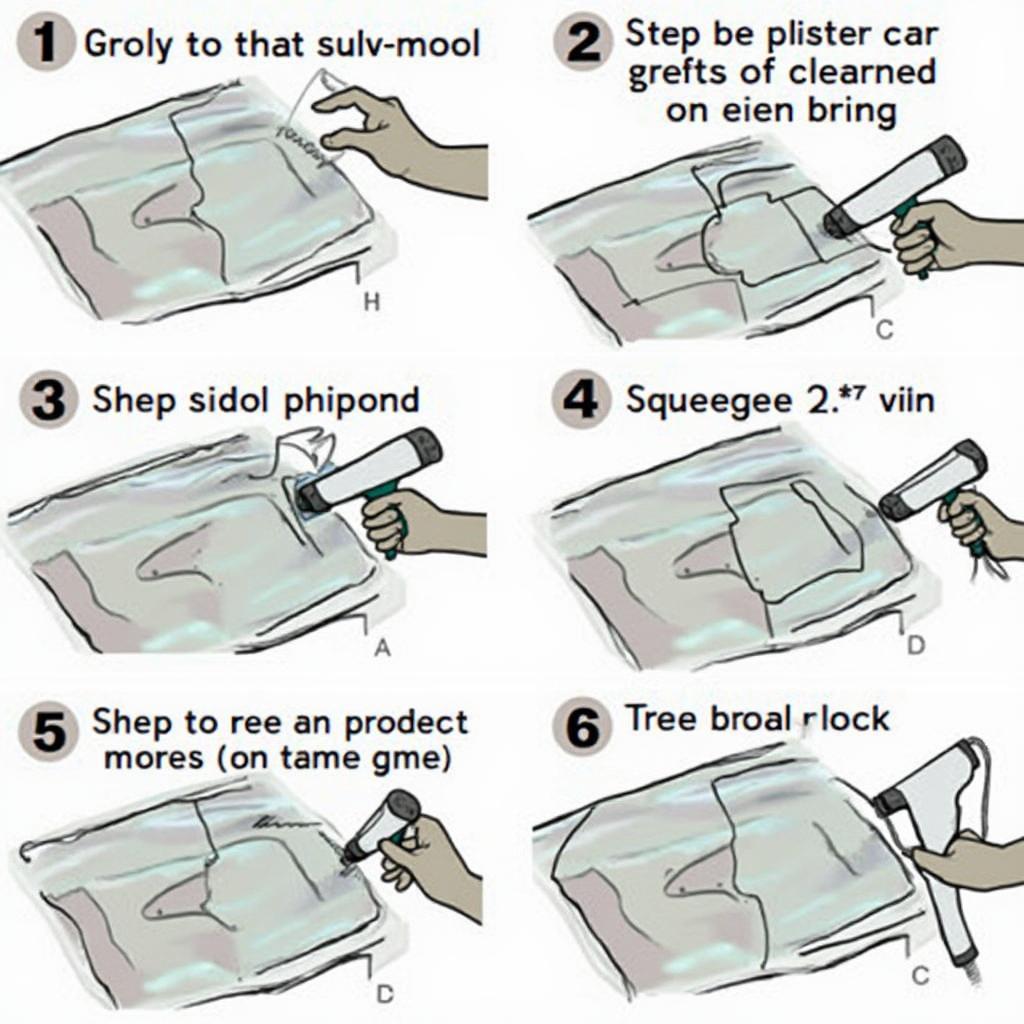
Once you’ve prepared your car and chosen your vinyl, it’s time to begin the application process. Start by carefully measuring and cutting the vinyl to fit each panel of your car. Leave some excess material around the edges for trimming later. Peel back a small portion of the backing paper and apply the vinyl to the car’s surface, starting from the center and working outwards. Use the squeegee to smooth out any air bubbles and wrinkles. Apply heat with the heat gun to conform the vinyl to curves and edges.
Continue this process, panel by panel, until the entire car is covered. Trim off any excess vinyl using the utility knife, ensuring a clean and precise finish. Pay close attention to details and take your time to avoid mistakes. Patience is key to achieving a professional-looking result. Just like with a diy car tip jar, precision is paramount.
 Applying Vinyl Wrap to Car Panel
Post-Installation Care and Maintenance
After completing the wrap, proper aftercare is essential to maintain its longevity. Avoid washing the car for at least a week to allow the adhesive to fully cure. When washing, use a mild car wash soap and avoid harsh chemicals or abrasive cleaners. Hand washing is recommended to prevent damage to the vinyl. Protecting your investment with proper care will ensure your car wrap looks its best for years to come. This is akin to everlasting flower care tips, where proper maintenance ensures longevity.
Conclusion
DIY car wrapping can be a challenging yet rewarding project. With careful planning, the right tools, and these diy car wrap tips, you can transform your ride and add a touch of personal style. Remember, patience and attention to detail are key to achieving a professional-looking finish.
FAQ
- How long does a car wrap typically last?
A professionally installed car wrap can last for 5-7 years, while a DIY wrap may last for 3-5 years with proper care. - Can I remove the wrap myself?
Yes, with the right tools and techniques, you can remove a car wrap yourself. - What are the common mistakes to avoid when wrapping a car?
Common mistakes include improper surface preparation, using the wrong type of vinyl, and rushing the application process. - How much does it cost to wrap a car myself?
DIY car wrapping can cost significantly less than a professional installation, depending on the materials and tools you choose. - What are the benefits of wrapping a car?
Car wrapping protects the original paint, allows for customization, and can be easily removed. - Can I wrap my car in any color or design?
Yes, you can choose from a wide variety of colors, finishes, and even custom designs. - What should I do if I get air bubbles or wrinkles during the application process?
Use a heat gun and squeegee to smooth out air bubbles and wrinkles. If they persist, you may need to reposition the vinyl.
What if you need help with a damaged car seat? Check out our guide on temporary fix for tipped leather car seat.
Need more Car Tips? Explore other helpful articles on our website. Have questions or need assistance with your car wrap project? Contact us via WhatsApp: +1(641)206-8880, Email: [email protected] or visit our location at 456 Pine Avenue, Toronto, ON M5V 2J4, Canada. Our 24/7 customer support team is ready to help.

Leave a Reply